
Home screen
The Home screen is the first screen shown when you start the app. Select a class feature in Menu at the top, and open the videos, photos, and PDFs to show during class in Media at the bottom.
Screen layout
Section titled “Screen layout”- 1Settings (the gear button): Opens the app settings. A red dot means a new version is available.
- 2Menu: The 4 main menu cards. Select one to open that feature.
- 3Media: The videos, photos, and PDFs to show during class. Select one to show it full size.
- 4Edit: Adds or deletes media and changes their order.
- 5Connect Tablet: Opens the connection window when you use tablets too.
Main menu
Section titled “Main menu”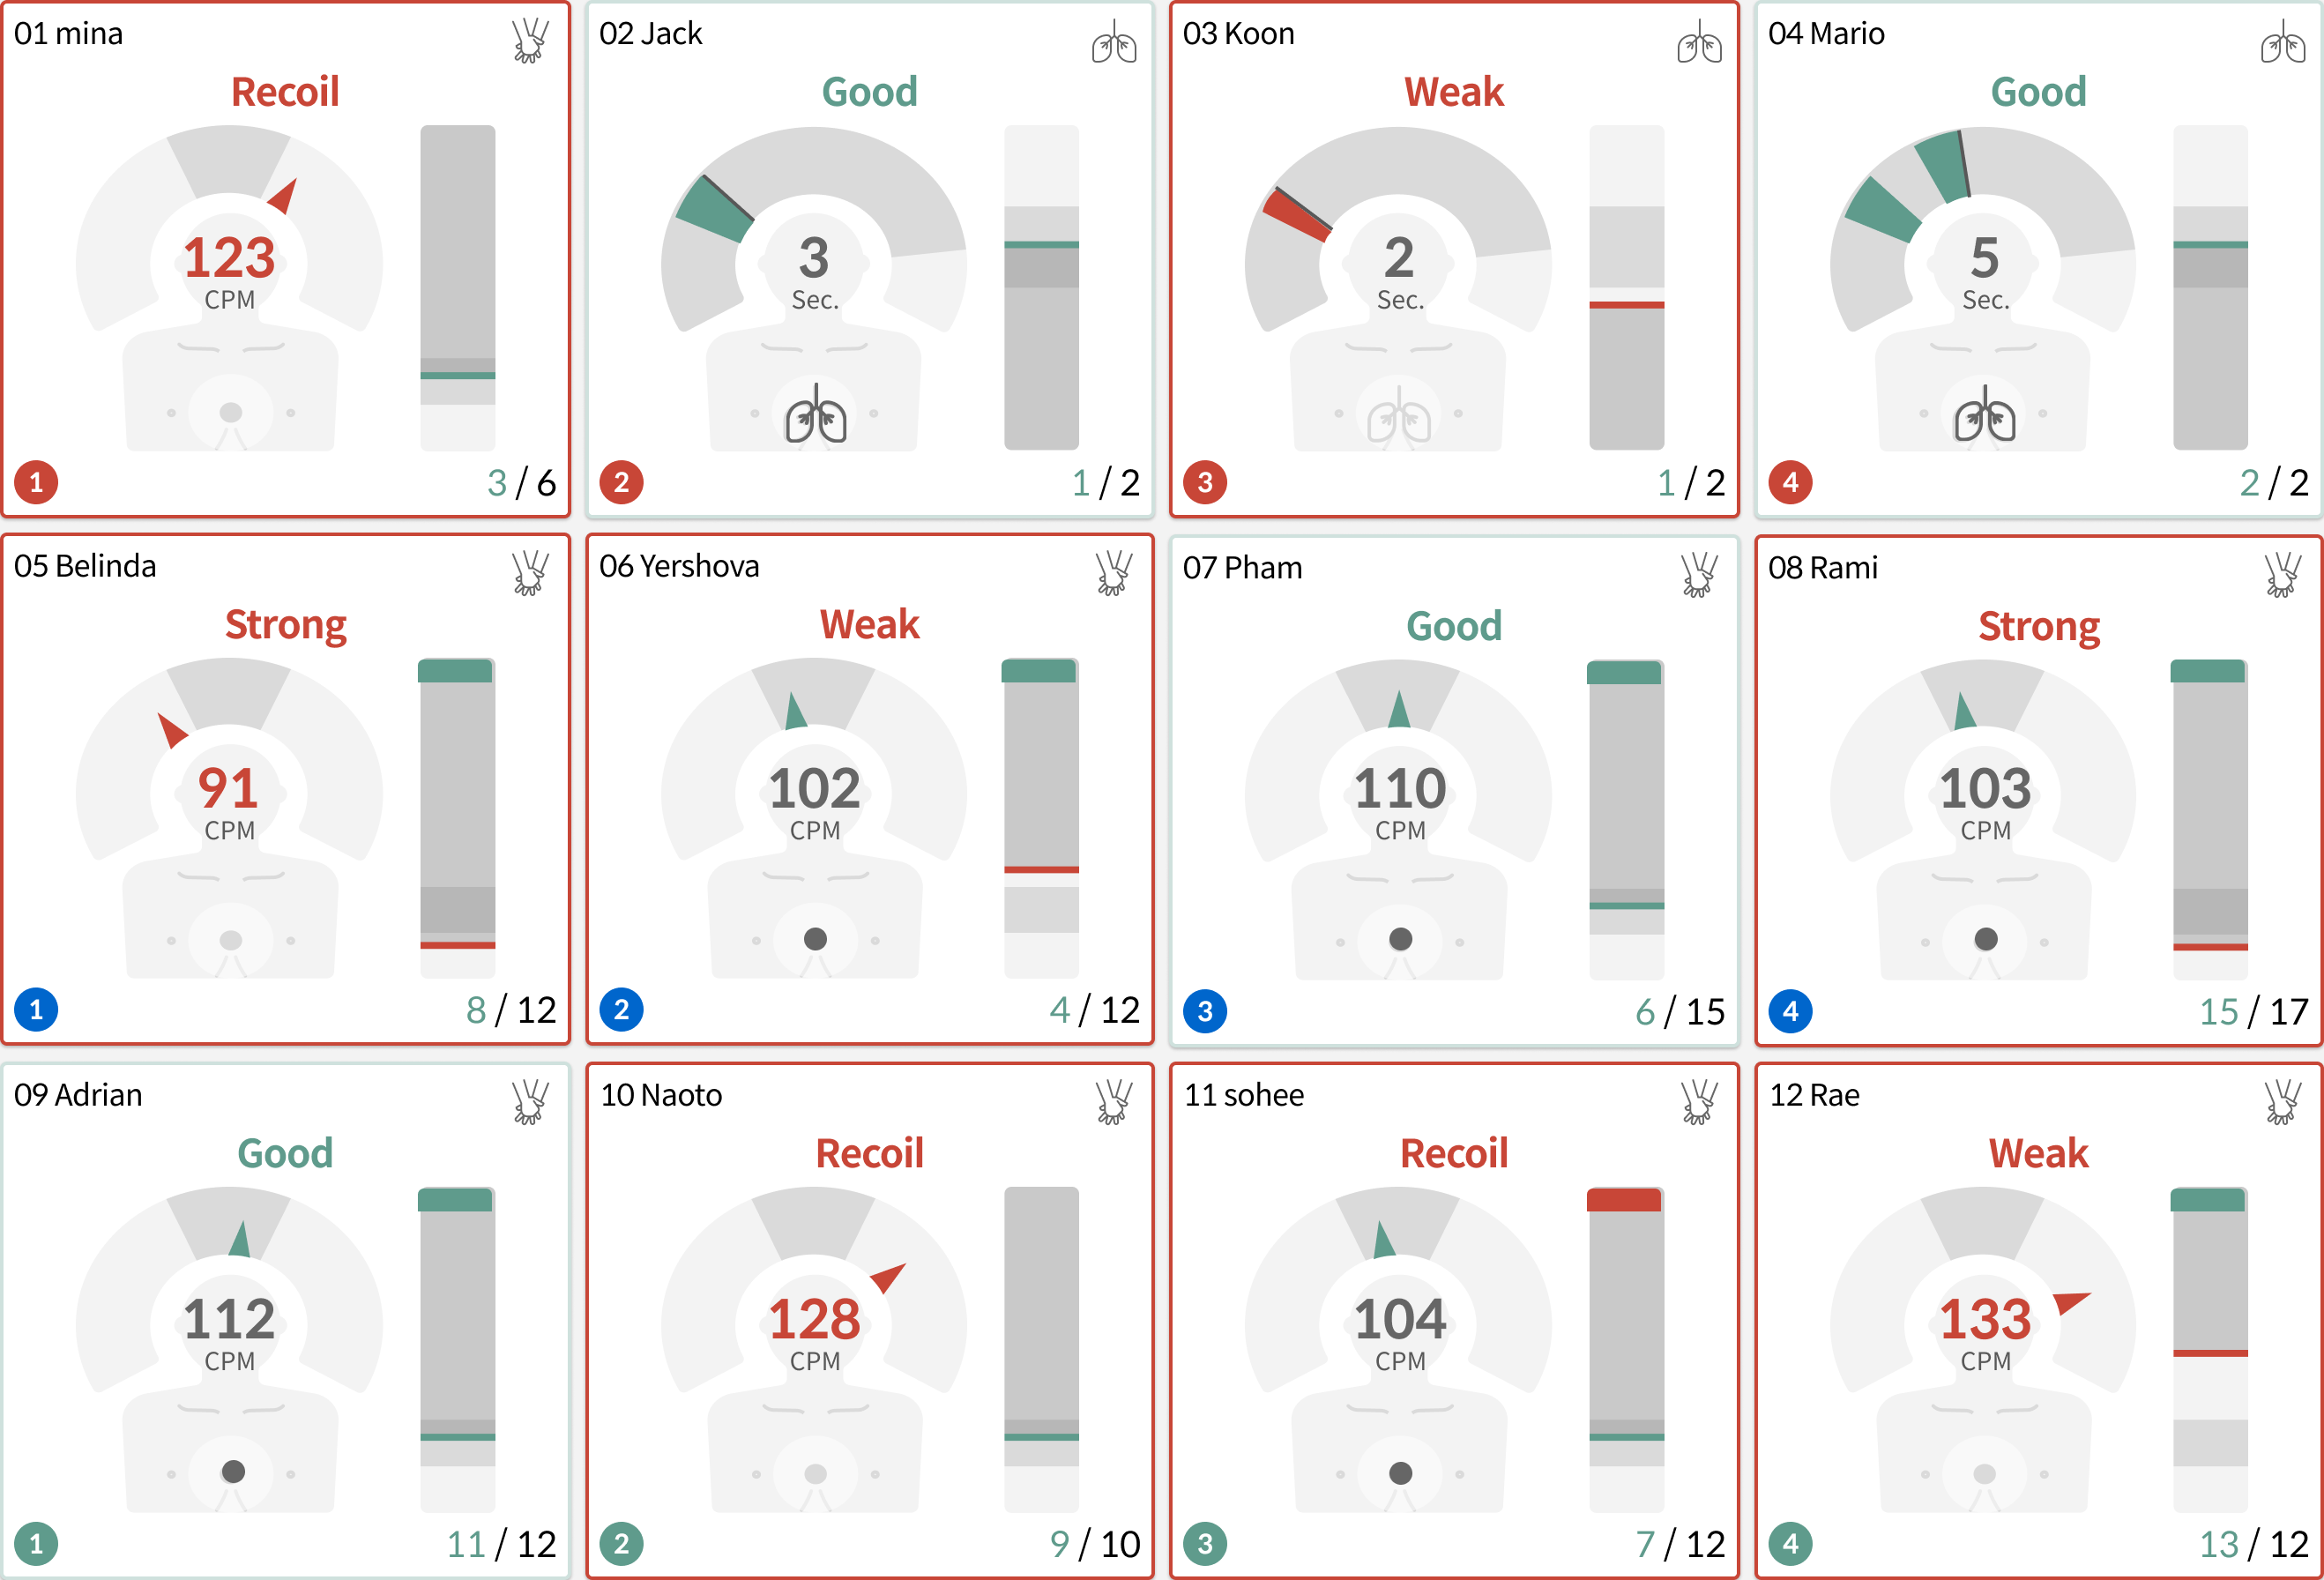
Feedback Mode
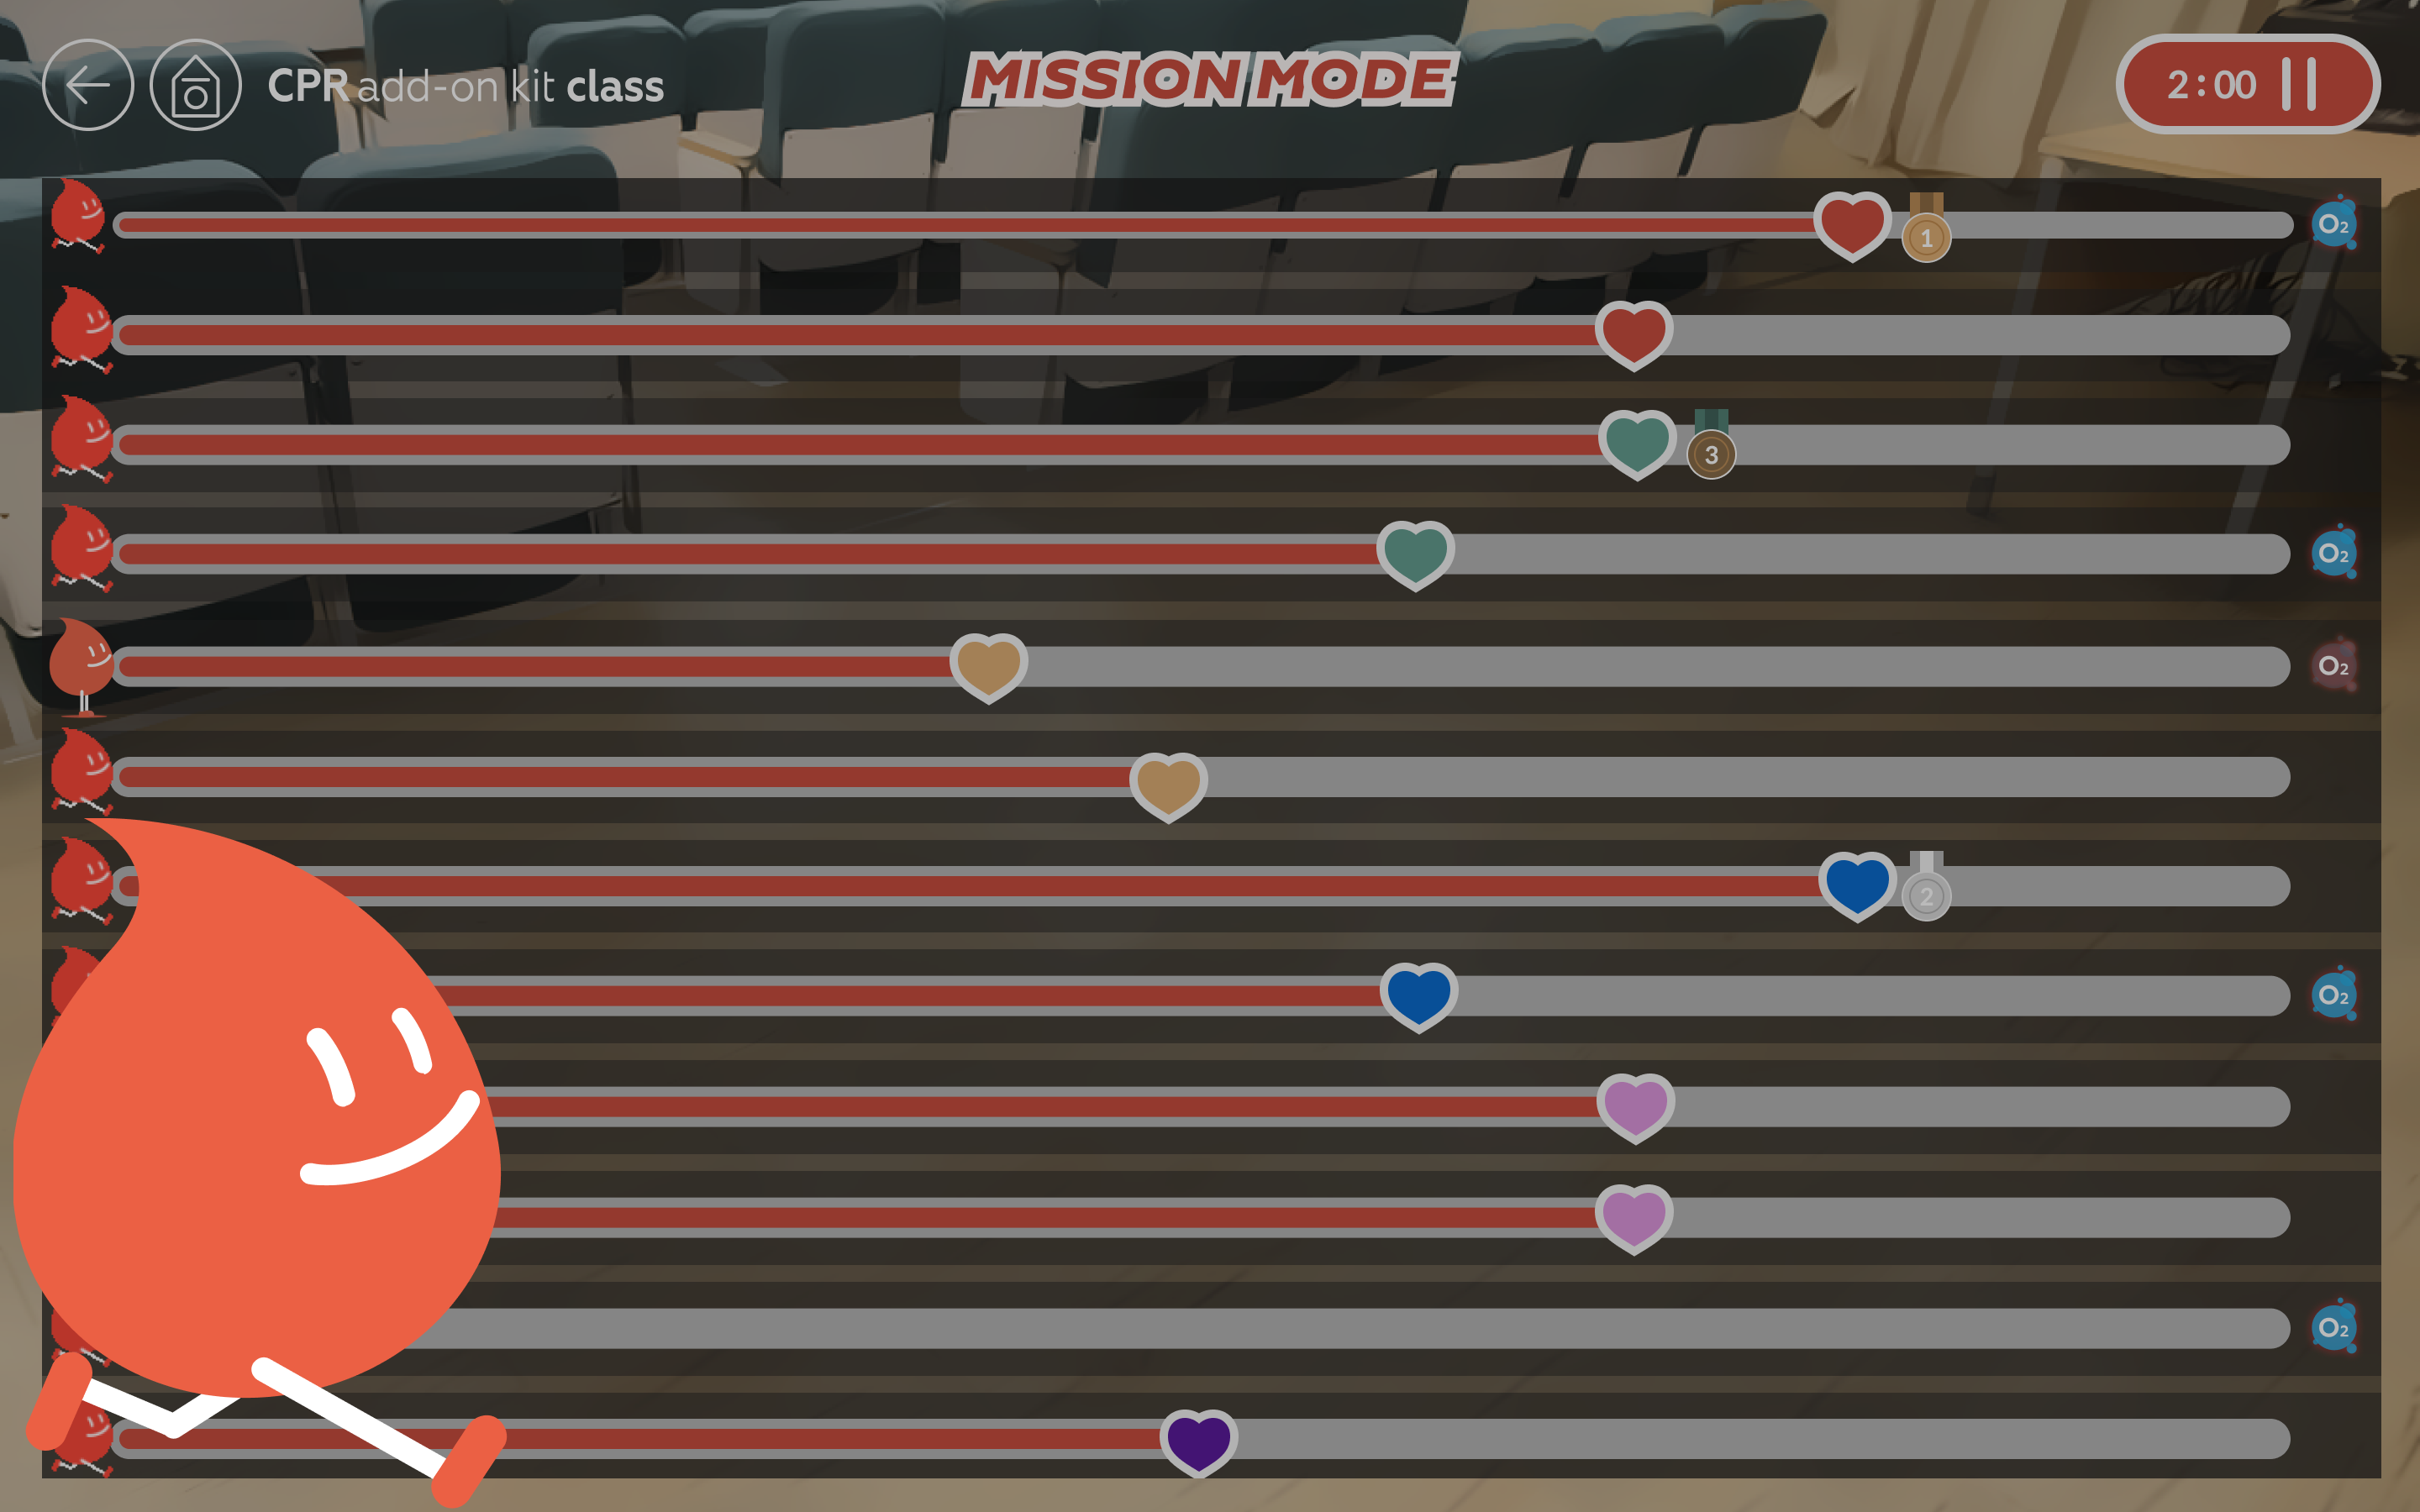
Mission Mode
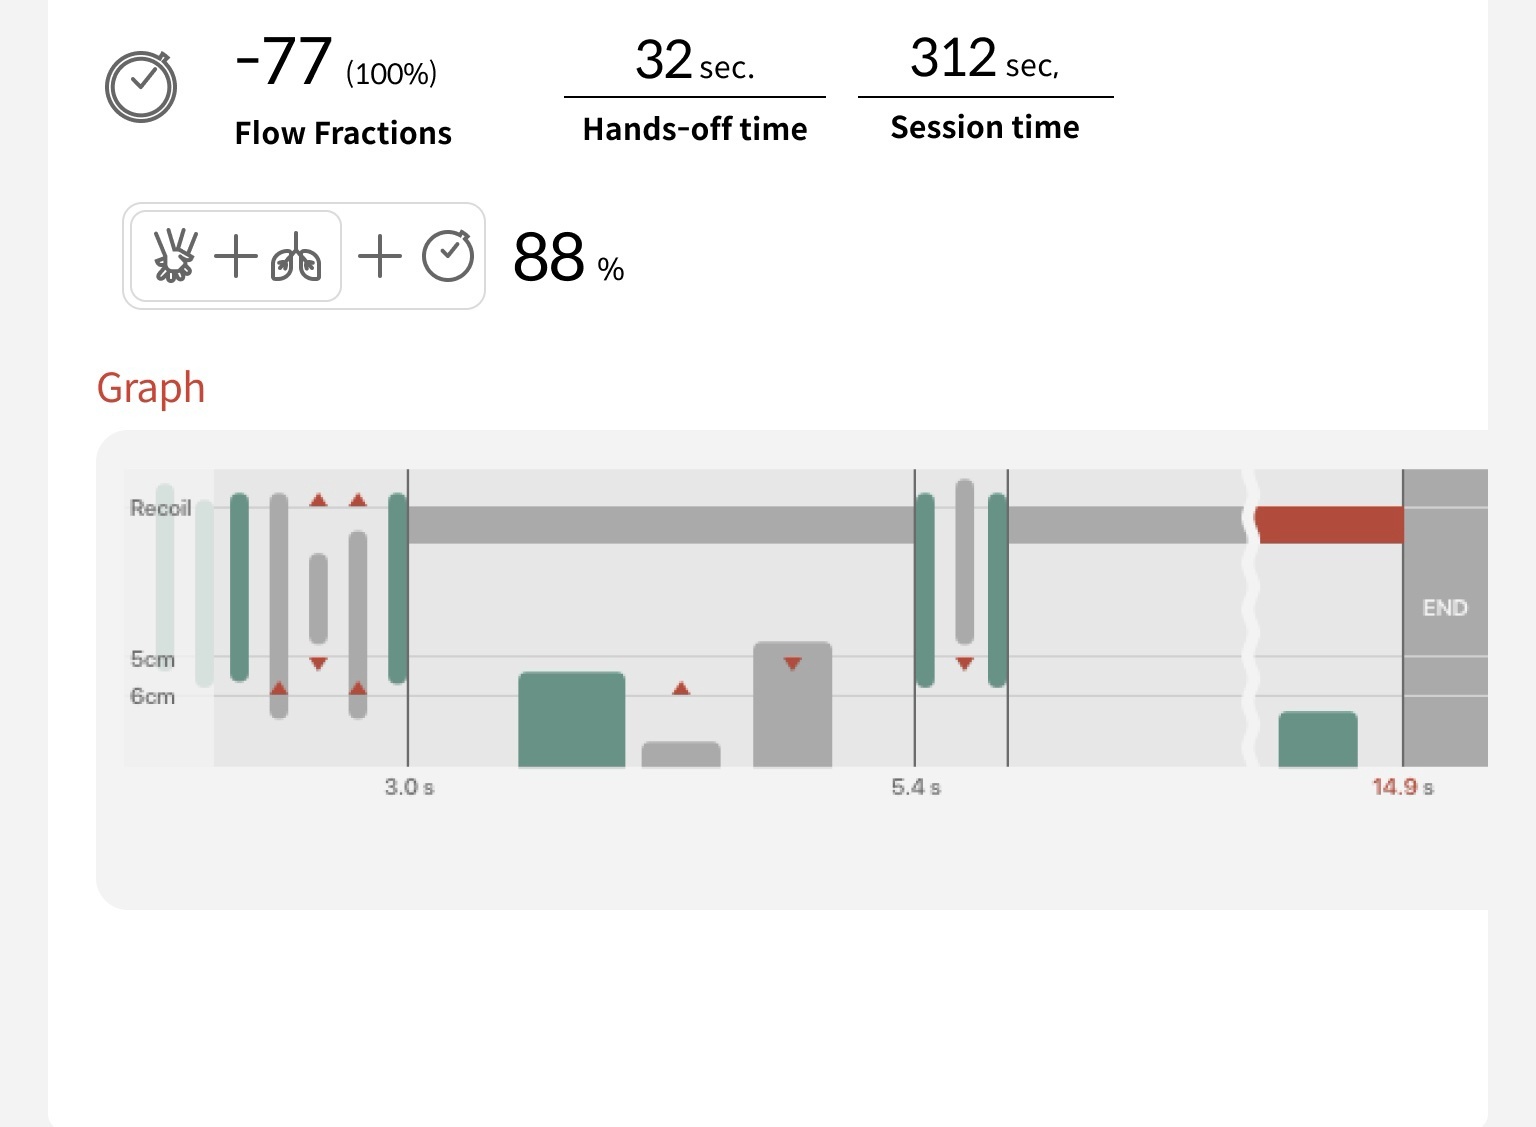
Results list
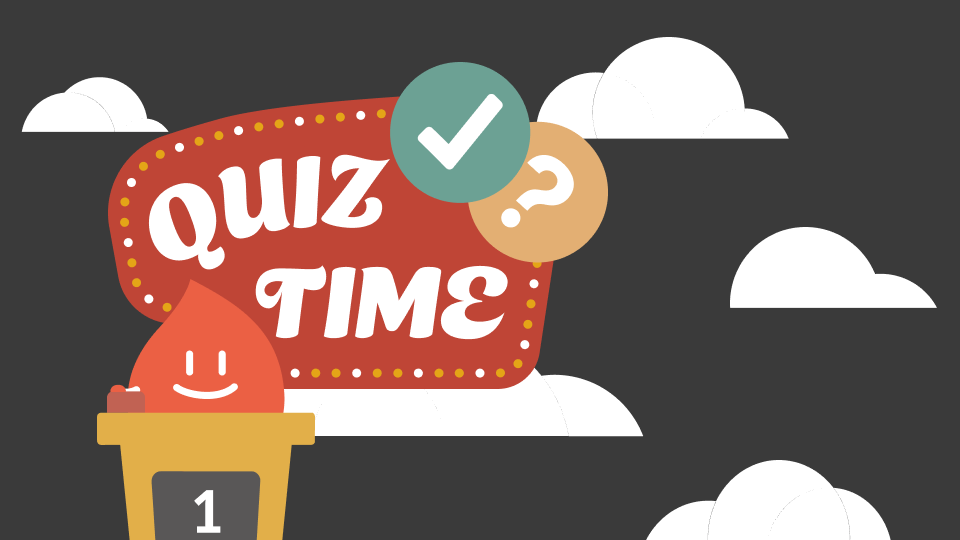
Quiz
How to use
Section titled “How to use”Main menu selection
Section titled “Main menu selection”Select the menu card for your class. To come back to Home from another screen, select the Home button (the house icon) at the top left. On some screens, it is next to the back button.
Settings menu
Section titled “Settings menu”Select the gear Settings button at the top right to show the settings below.
Tablet connection button
Section titled “Tablet connection button”- 1Connect Tablet: At the bottom of the Home screen. When you hover over it, it expands to Connect Additional Tablet · View QR Code.
- 2Select it to open the Connect Additional Device (Tablet) window. After you check the Wi-Fi details, a QR code for the tablet to scan is shown.
For how to connect, see Tablet use.
Opening media
Section titled “Opening media”Select a card in Media at the bottom to show the video, photo, or PDF full size. To add or organize media, see Media.
Home screen on a student tablet
Section titled “Home screen on a student tablet”A student tablet is view only and follows the instructor’s screen. For how to use tablets, see Tablet use.
- 1The menu is grayed out and cannot be selected. When the instructor opens a menu, the tablet changes to the same screen.
- 2There is a Log out button instead of the settings button. Select it to go back to the role selection screen.
- 3Media cards cannot be selected either. When the instructor opens media, it opens on the tablet too. There is no Edit button and no Connect Tablet button.
Frequently asked questions
Section titled “Frequently asked questions”The menu is grayed out and can’t be selected
If you joined as a student on a tablet, you cannot select the menu. To use the tablet as an instructor, select Log out and select your role again. (Tablet use)
The menu and logo at the top disappeared
While you are editing media, the menu and logo at the top are hidden. Select the red Done button on the right to go back to the normal screen.
I can’t see the Connect Tablet button
This button is hidden while you are editing media or on a student tablet. Finish editing on the PC and check again.
A red dot appeared on the settings button
It means a new version is out but you have not installed it yet. When the update window or the notification at the bottom of the screen is shown, follow the prompts to install it. Once it is installed, the red dot disappears. For the update steps, see Updates and data upload.